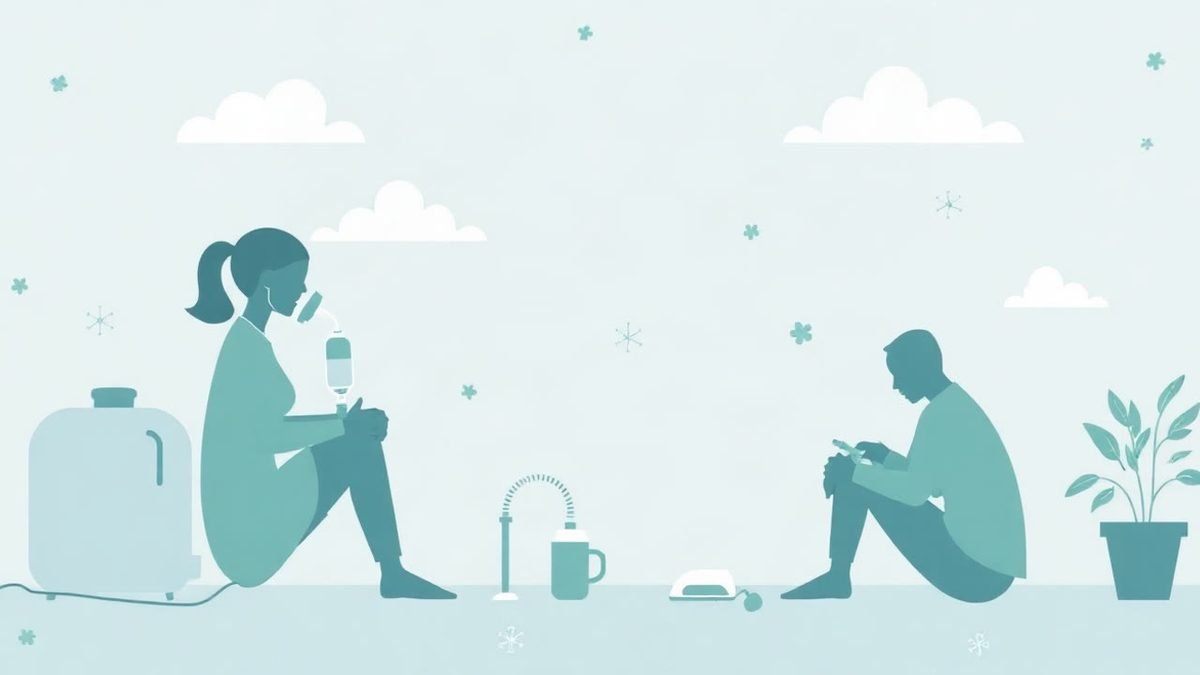
Cleaning your nebuliser, spacer and CPAP equipment is one of the simplest ways to protect your lungs: each piece should be rinsed after every use, disinfected regularly, dried fully and stored in a clean, dry place. Equipment that stays damp or holds leftover medication can quickly become a breeding ground for bacteria and mould, which you then breathe in directly. The good news is that a few minutes of daily care, plus some periodic deep cleaning and part replacement, is all it takes.
Key takeaways
- Rinse after every use. Nebuliser parts and spacer chambers should be washed in warm water with a little washing-up liquid and rinsed thoroughly.
- Disinfect and air-dry daily or weekly. Boiling nebuliser parts for at least five minutes (or using a steam steriliser), and washing CPAP masks and tubing in warm water with a mild liquid detergent, helps keep them clean.
- Drying matters as much as washing. Moisture left inside tubing, masks and cups encourages mould and bacteria growth.
- Replace worn parts. Nebuliser cups, tubing and air filters generally need replacing at least once a year, and sooner if they are damaged or cannot be cleaned properly.
- Never share equipment between people, and avoid harsh cleaners, bleach or scented products that can damage masks and leave harmful residue.
Why cleaning respiratory equipment matters so much
Devices like nebulisers and CPAP machines sit close to your airways and deliver air or medication straight into your lungs. As Cureka’s sanitisation guide explains, moisture, residual medication and air exposure create ideal conditions for bacteria, mould and viruses to thrive, which can lead to recurrent infections or breathing discomfort if equipment is not cleaned properly.
This is especially important for people who are more vulnerable to chest infections, such as children, older adults, and those living with asthma or COPD. For anyone managing a long-term respiratory condition, clean equipment is part of the same routine as taking medication correctly. If you or someone you care for uses a rescue pack during flare-ups, keeping inhalation gear hygienic is a sensible extension of that planning.
There is also a practical performance issue. A nebuliser that is coated in limescale from hard water, or fitted with a greyed-out air filter, can deliver noticeably less of each dose than you think, even when the machine sounds perfectly normal.
How should you clean a nebuliser?
Nebulisers have several parts that touch medication and moisture, so they need the most consistent attention of all your equipment.
After every use
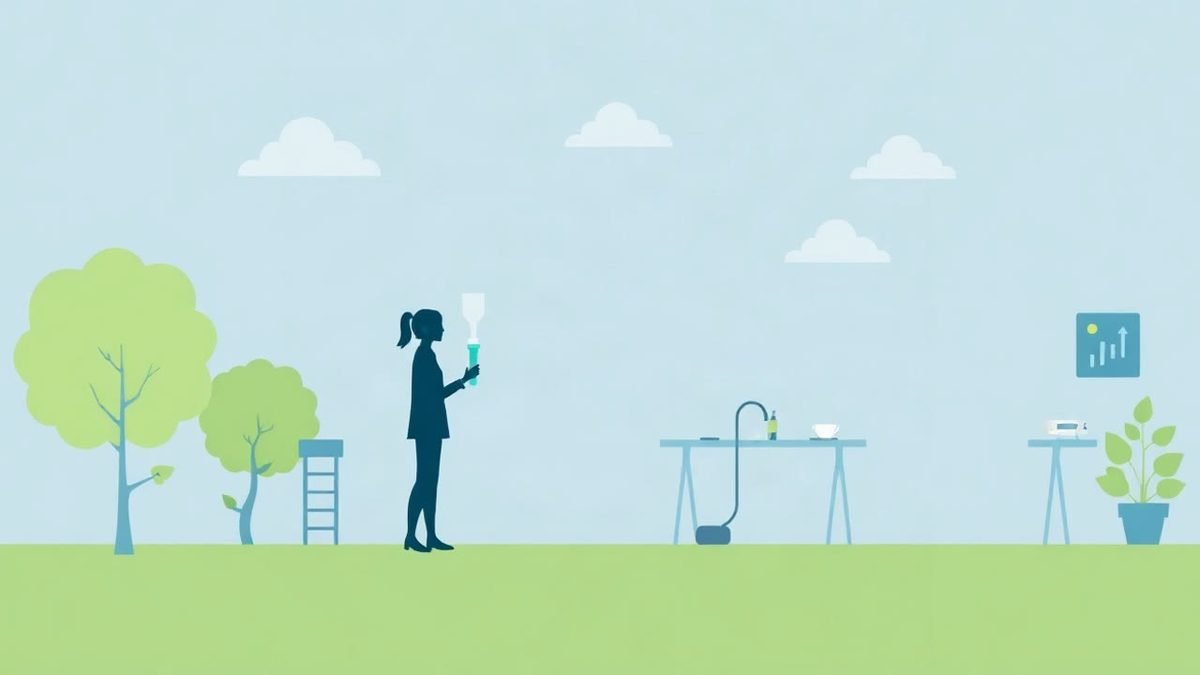
PARI, a respiratory device manufacturer, recommends dismantling the nebuliser into its individual parts after each treatment and washing them in warm water with washing-up liquid, then rinsing all parts thoroughly under running water. This removes medication residue before it dries and hardens.
Disinfecting once a day
Follow your device manual; where the manufacturer permits it, parts may be disinfected by boiling for the time specified, otherwise wash in warm soapy water and air-dry. Use a steam steriliser only if your device manual specifies it, following the time stated there. Always check your own device’s manual first, as some manufacturers specify different methods.
Drying and storage
After washing or disinfecting, place the parts on a dry, lint-free cloth and let them air-dry completely. Store everything in a dry, dust-free environment until your next treatment. A sealed container that still has moisture inside will undo all your good work by encouraging mould.
Replacing parts
PARI recommends replacing the nebuliser, the connection tube and the air filter at least once a year, and sooner if there is soiling that cannot be cleaned or any part is damaged. If you notice your treatments seem less effective, worn parts are a common culprit worth discussing with your practice nurse or equipment supplier.
How should you clean a spacer?
Spacers are simple devices, but the material inside a plastic chamber can be sensitive to how it is handled, which is why gentle care and following the manufacturer’s instructions are important.
- Clean your spacer following the manufacturer’s instructions, and let it dry fully before storing it.
- Check the mouthpiece and valve regularly for cracks, tears or stuck flakes of medication, and replace the spacer if you find damage.
Because spacers vary between brands, it is always worth checking the leaflet that came with yours, or asking your pharmacist, for the exact method they recommend.
How should you clean CPAP equipment?
CPAP machines circulate warm, humidified air all night, which makes regular cleaning essential. ResMed, one of the main CPAP manufacturers, gives clear guidance on what to clean and how often.
Daily: the mask cushion and humidifier tub
Unplug the machine and disconnect the mask and tubing. Take the mask apart into its cushion, frame and headgear. Clean the cushion daily, gently rubbing with a mild liquid detergent and warm, drinking-quality water to remove skin oils, then rinse thoroughly. Empty the humidifier tub and wipe it with a clean disposable cloth, leaving it to dry out of direct sunlight.
Weekly: headgear, frame and tubing
ResMed recommends cleaning the headgear and frame weekly, and rinsing the inside and outside of the air tubing with mild dishwashing liquid and warm water. Lay everything flat on a towel to dry, out of direct sunlight, which can degrade the materials over time.
What to avoid
Strong cleaning products, including harsher dish detergents, can damage masks and tubing or leave harmful residue that you would then breathe in. Avoid bleach, scented soaps and alcohol-based wipes on soft components. Never submerge the CPAP machine itself; only the detachable parts are cleaned, and only after unplugging the unit.
Which cleaning mistakes should you avoid?
Several common habits quietly undermine good equipment hygiene:
- Skipping the drying step. Packing equipment away while still damp is the fastest route to mould and bacteria growth.
- Using hard water without a rinse. Hard tap water can leave a chalky limescale lining inside the medication cup that is difficult to remove and can reduce the dose delivered.
- Using harsh chemicals. Bleach and strong detergents can damage parts and leave residues. Mild washing-up liquid and warm water are enough for routine washing.
- Sharing equipment. Equipment that touches the mouth, such as masks and mouthpieces, is personal kit; many manufacturers advise against sharing it, so it is sensible to keep each person’s equipment separate.
- Cleaning only when something looks dirty. By the time you can see residue or discolouration, contamination has often been building for months.
If damp and mould are a problem in the room where you store your equipment, our guide to damp, mould and indoor air at home explains how to tackle the underlying issue, which matters for your lungs as well as your gear.
How often should each part be cleaned or replaced?
Routines differ slightly between devices, so this quick reference is a helpful starting point. Always follow your own equipment’s manual where it differs.
- Nebuliser parts: wash after every use; disinfect daily by boiling for at least five minutes or steam sterilising for at least six minutes (PARI).
- Nebuliser cup, connection tube and air filter: replace at least yearly, or sooner if damaged or hard to clean (PARI).
- CPAP mask cushion and humidifier tub: clean daily (ResMed).
- CPAP headgear, frame and air tubing: clean weekly (ResMed).
- Spacer: clean regularly following the manufacturer’s instructions; replace if the valve or chamber is damaged.
ResMed also notes that special materials need special care: for example, the foam cushion on certain masks (such as the AirTouch F20) should not be washed in water, so always check which mask type you have before cleaning. If cleaning feels overwhelming alongside everything else, particularly during a flare-up, ask a family member or carer to help, or speak to your respiratory team about simplified routines.
What does a realistic daily routine look like?
It helps to build cleaning into the rhythm of your treatments rather than treating it as a separate chore:
- After your treatment or your night’s sleep, take the parts that touch your face or medication apart.
- Wash them in warm, soapy water and rinse thoroughly.
- For the nebuliser, disinfect daily by boiling or steam sterilising, if your manual allows.
- Lay everything on a clean towel to air-dry, away from direct sunlight.
- Once fully dry, store the parts in a clean, dry, dust-free place.
- Once a week, do the deeper items: CPAP headgear and tubing, and a visual check of all parts for wear.
Keeping a small supply of mild washing-up liquid, a dedicated drying towel and a note of when parts were last replaced removes most of the friction from the routine.
If you or someone else is severely breathless, cannot speak in full sentences, or has blue or grey lips, call 999.
FAQ
Can I use a dishwasher or microwave to clean my nebuliser parts?
Not unless your manufacturer’s instructions specifically say so. Dishwasher heat and detergents can warp plastic parts and leave residue. Boiling water or a steam steriliser, as recommended by PARI, is the safer disinfecting method for most nebulisers, but always check your own manual first.
How often should I replace my CPAP mask and tubing?
Follow your equipment supplier’s replacement schedule, which typically covers masks, cushions and tubing at regular intervals, and inspect parts weekly for cracks, tears or loss of shape. Your supplier or sleep clinic can confirm the right schedule for your specific mask and machine.
Do I need special cleaning machines or ozone devices for CPAP equipment?
No. Warm water and mild detergent, plus thorough drying, are what the manufacturer guidance supports. ResMed’s instructions rely on simple washing and air-drying rather than any special device, so there is no need to buy extra gadgets.
What should I do after I have been ill with a chest infection?
It is sensible to disinfect or replace parts that were used during the illness so you are not re-exposing yourself. Ask your respiratory team or pharmacist for advice on whether to disinfect or swap out components for your particular device.
My nebuliser still looks clean. Do I really need to disinfect it daily?
Yes, because contamination is not always visible. Moisture and medication residue create conditions where bacteria and mould can grow even when parts look fine, as Cureka’s guide notes. Disinfecting is a preventive step, not just a tidying one.
Final thoughts
Cleaning your nebuliser, spacer and CPAP equipment takes only a few minutes a day, but it protects every dose you take and every breath of therapy you receive. Start with one habit, rinsing parts immediately after use, and build the weekly routine from there. If you are ever unsure about a cleaning method or a replacement part, your practice nurse, pharmacist or equipment supplier can help, and If your breathing is getting harder, seek urgent medical advice (call 111 or 999 if severe) rather than waiting to review equipment technique.
Sources
- Inhaler videos (Asthma + Lung UK)
- Sleep apnoea (NHS)
- Cleaning CPAP equipment: Everything you need to know | Resmed
- Maintaining the hygiene of your device at home – PARI
This article is general information and not a substitute for professional medical advice.
If you have symptoms or concerns, speak to your GP or a qualified health professional.
Editorial note: this is general health information, not medical advice. Our articles are written and checked against published guidance by our editorial team and are not reviewed by a clinician unless the article says so. If your care team has told you something different, follow their advice.
Leave a Reply